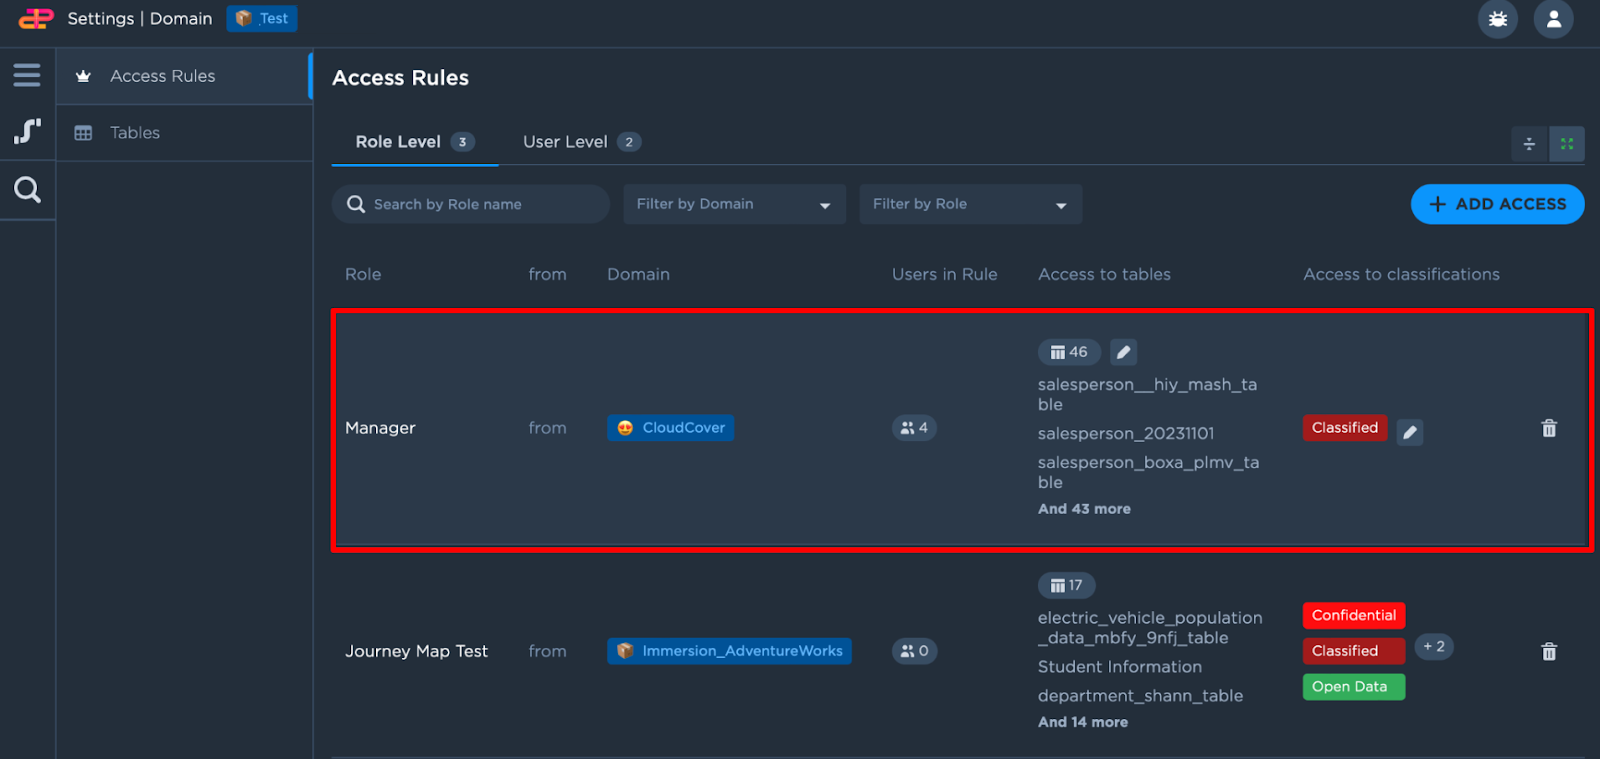
Creating a Role Level Access Rule
Steps
Login with a Domain Owner’s credentials.
Click on the settings icon :cogwheel: on the bottom left hand side of the screen.
From the menu click on Domain Settings tab .
Upon selection of Domain Settings :domain-settings: , it leads to Access Rules tab :access-rules: for Role Level.
Click on Add Access :add_access:.
The Access Rules Creation for Role Level is as follows:
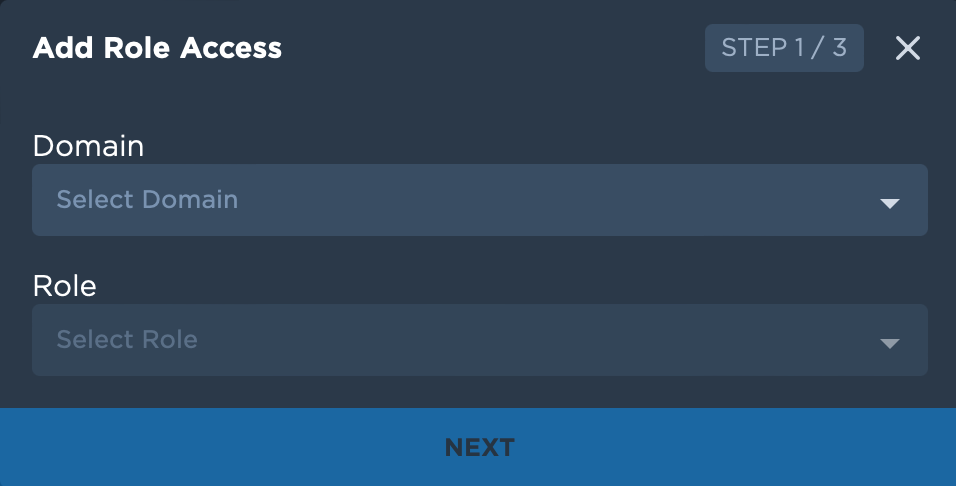
Select the domain and role that the access rule is to be applied to.
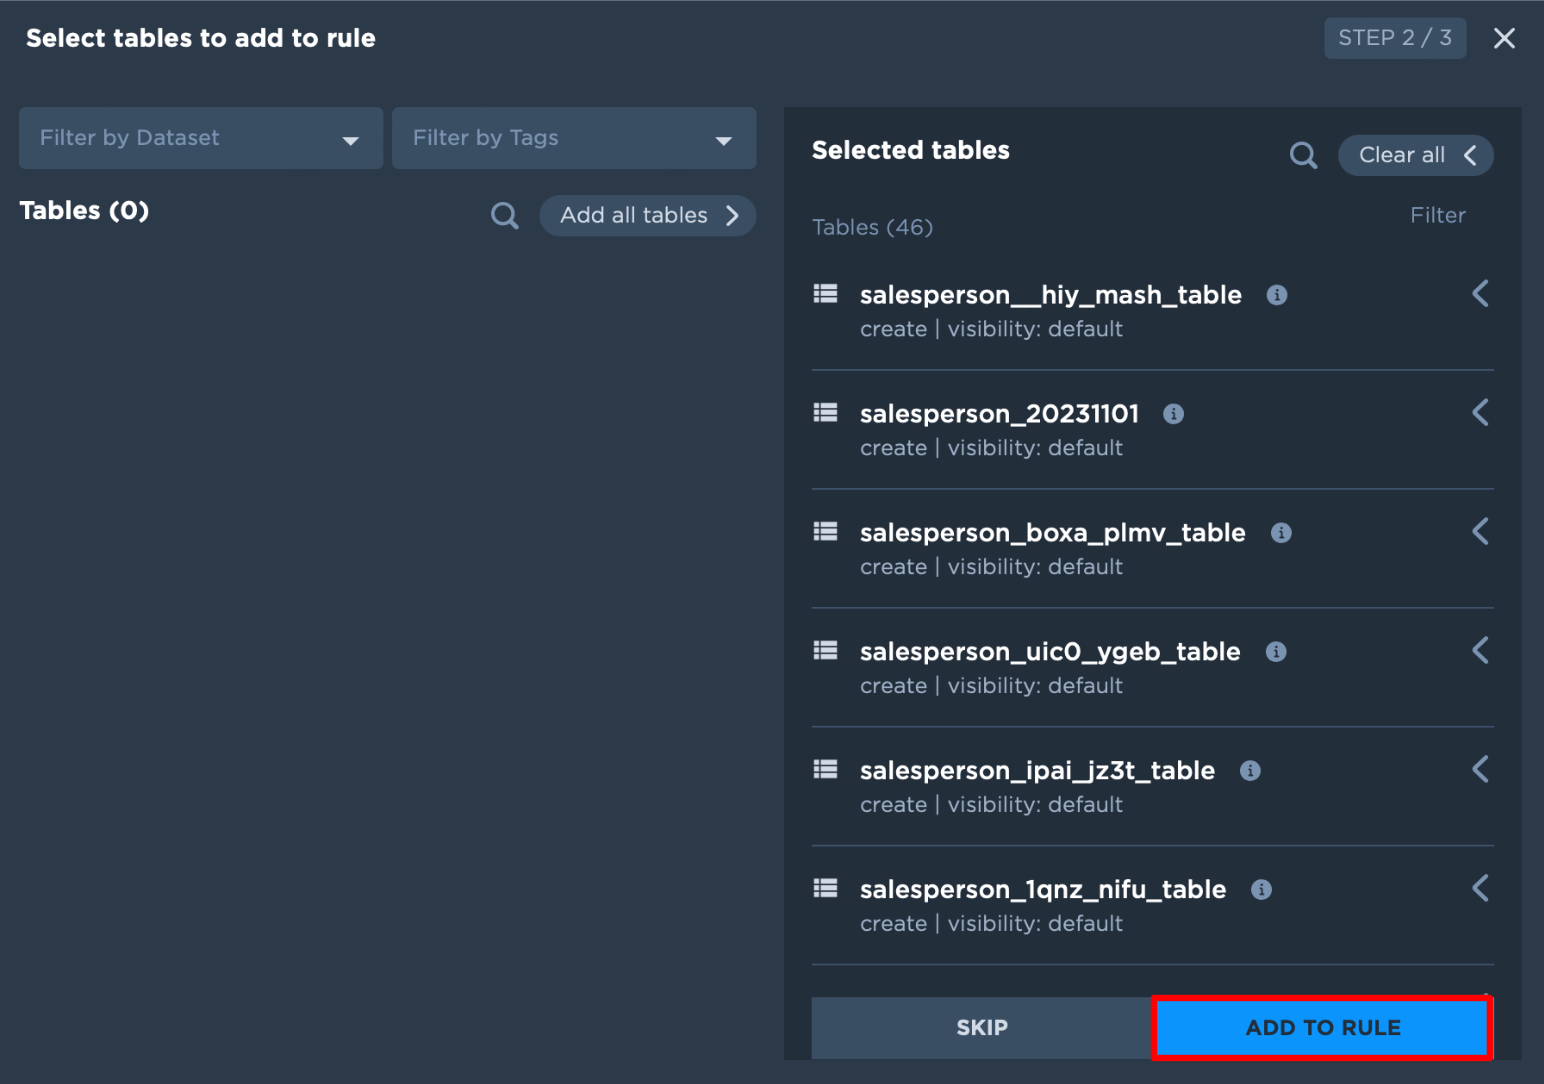
Choose tables from the list. To select all the tables from the dataset, click on Add All Tables :add_all_tables: . Else select individually by clicking on the :>: icon of the tables that you want to add.
You may also choose to skip and select the tables to be added by navigating to the same screen and click on edit besides the rule.
Note: The selected table will grant access to the selected role from a selected domain.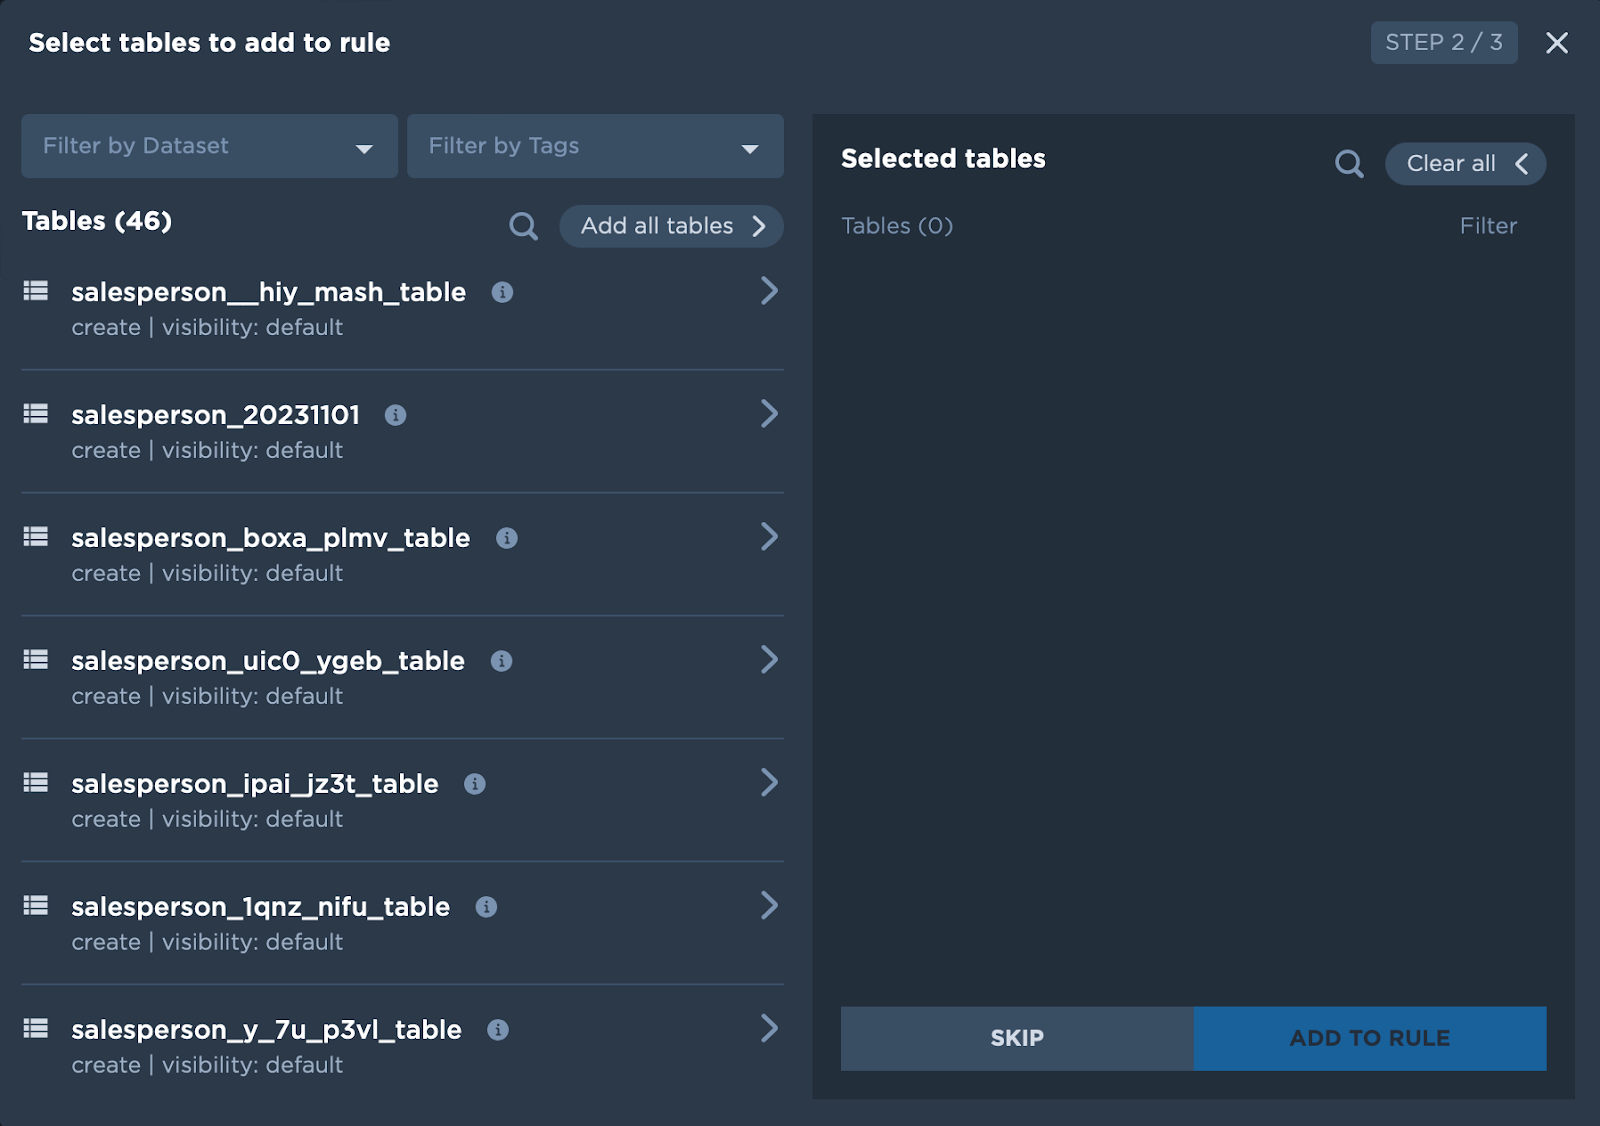
Click Add To Rule to save the rule.
Addition of Classification tag is as follows:
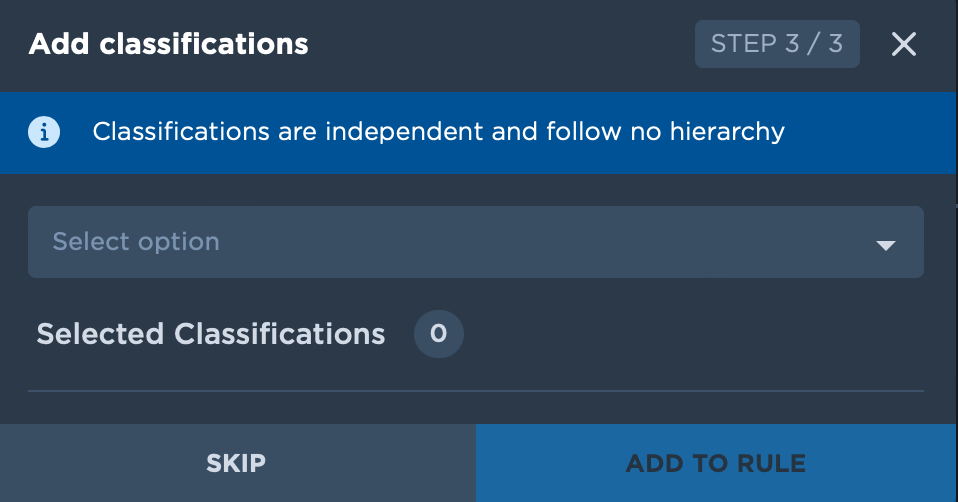
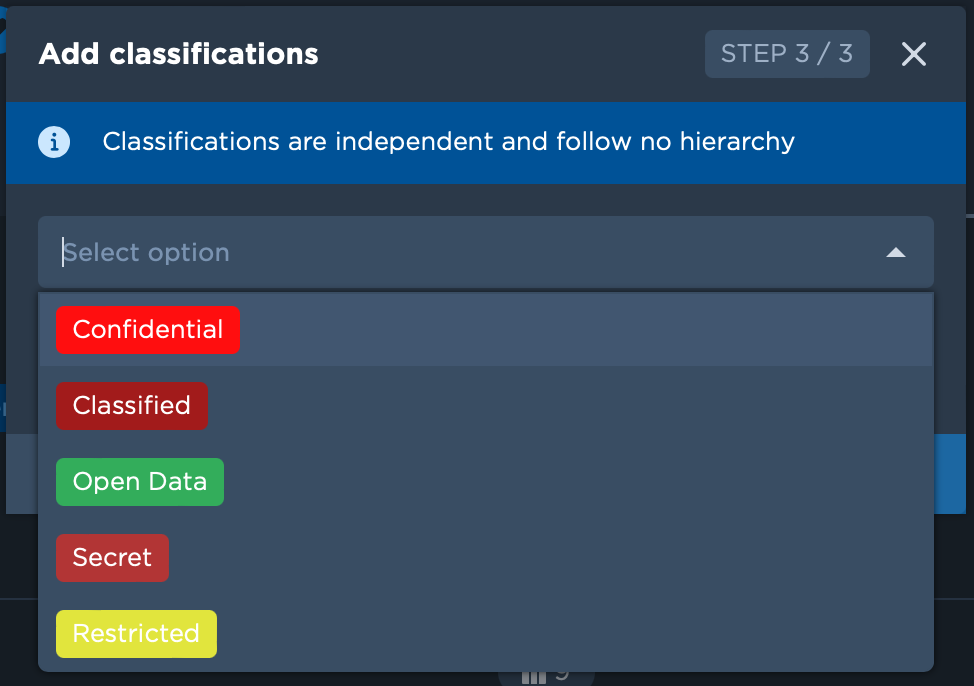
Select the classification tag from the dropdown list. You may select multiple classification tags.
You may also choose to skip and select the tables to be added by navigating to the same screen and click on edit besides the rule.Click on the bin icon beside the classification tag if you want to remove it.
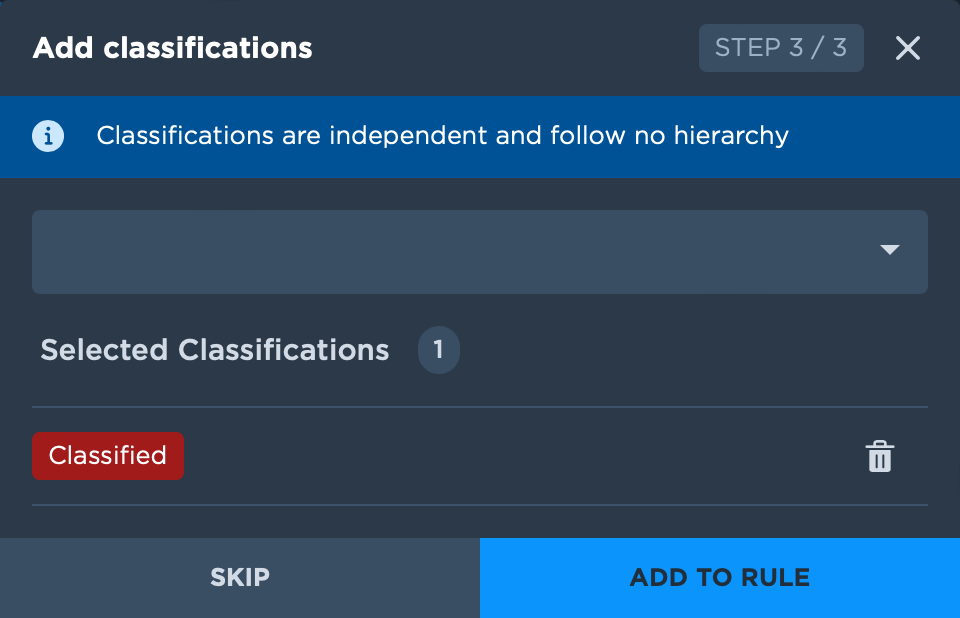
Click on Add To Rule :add-to-rule: once completed.
Click on Create Access Rule to confirm.
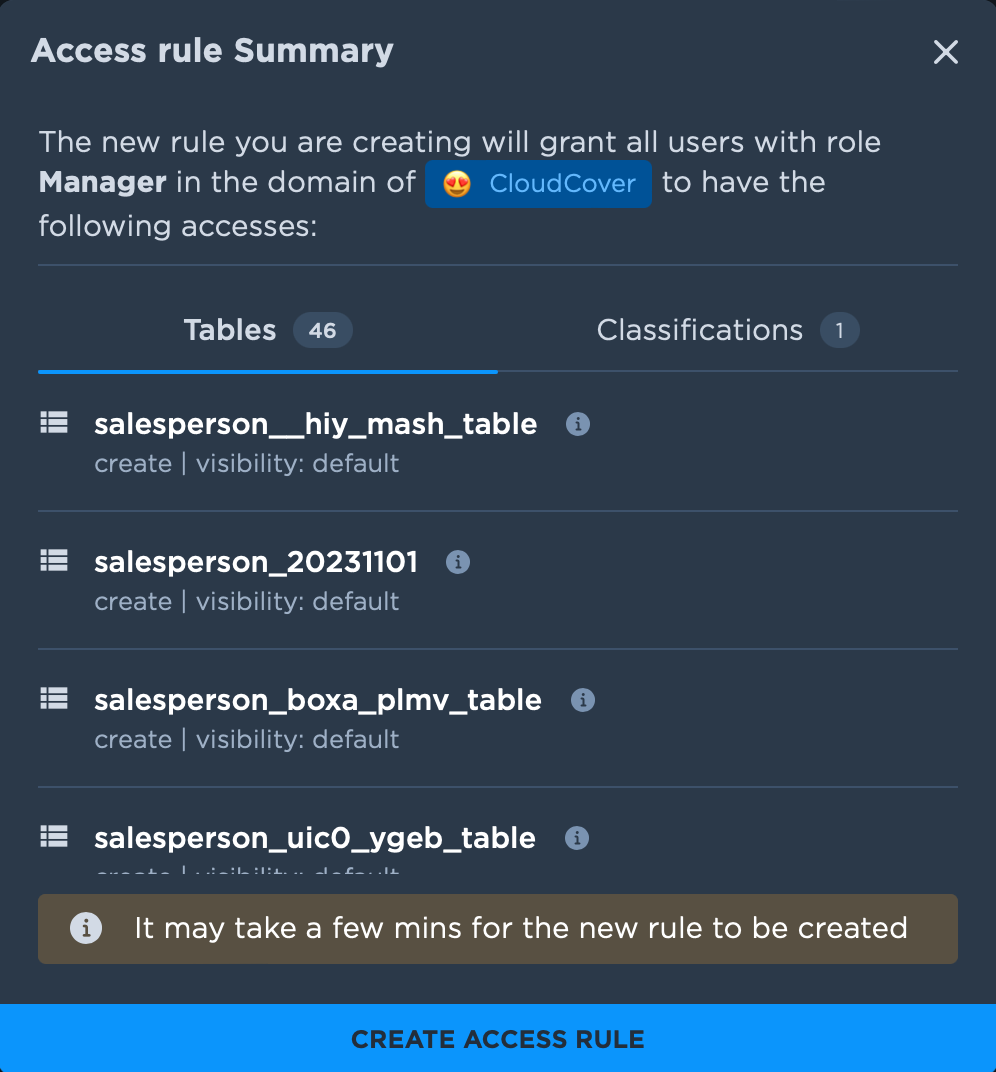
The Access Rule for Role Level will be created and listed on the same screen. To edit the rule, hover over it and click on the edit icon :edit: .
