
AWS Marketplace Setup Guide
Get started with Data Pipes in less than 1 hour.
Start by checking our pre requisite guide.
And follow this Setup Guide to:
Subscribe to and install Data Pipes.
First connection to Data Pipes.
Do you have any questions? Please read the documentation and frequently asked questions, or email us.
This video show what is Data Pipes.
Pre requisite
Start by checking our pre requisite guide.
Data Pipes require permission to create administrative roles, users, or groups. You may consider deploying Data Pipes into a new AWS accounts.
Administrative roles, users and groups are used for multiple purpose. For each new user added in the application, Data Pipes is creating the associated IAM roles and users to give access to the different AWS resources such as Athena, glue, etc.
Check our https://docs.datapipes.io/dms/latest/data-governance documentation for more details
Data Pipes does request your email address in this CloudFormation template. This information is not sent nor stored outside of your amazon account. This information is used by Data Pipes to send the first connection email details.
This product requires an internet connection to deploy properly.
The following packages are downloaded on deployment:
elasticsearch image
neo4j image
oathkeeper ory.sh image
hydra ory.sh image
kratos ory.sh image
airflow helm chart
nginx ingress-controler image and helm chart
kubernetes auto-scaler image and helm chart
jetstack.io certificate-manager image and helm chart
aws bottlerocket updater connector image and helm chart (if bottlerocket is selected as OS for EKS node)
External-secrets.io image and helm chart
bitnami external-dns image and helm chart
Subscribe to Data Pipes in AWS Marketplace
After you selected the Data Pipes product, Go to AWS Marketplace links, proceed with the following steps.
1. Click on Continue to Subscribe.

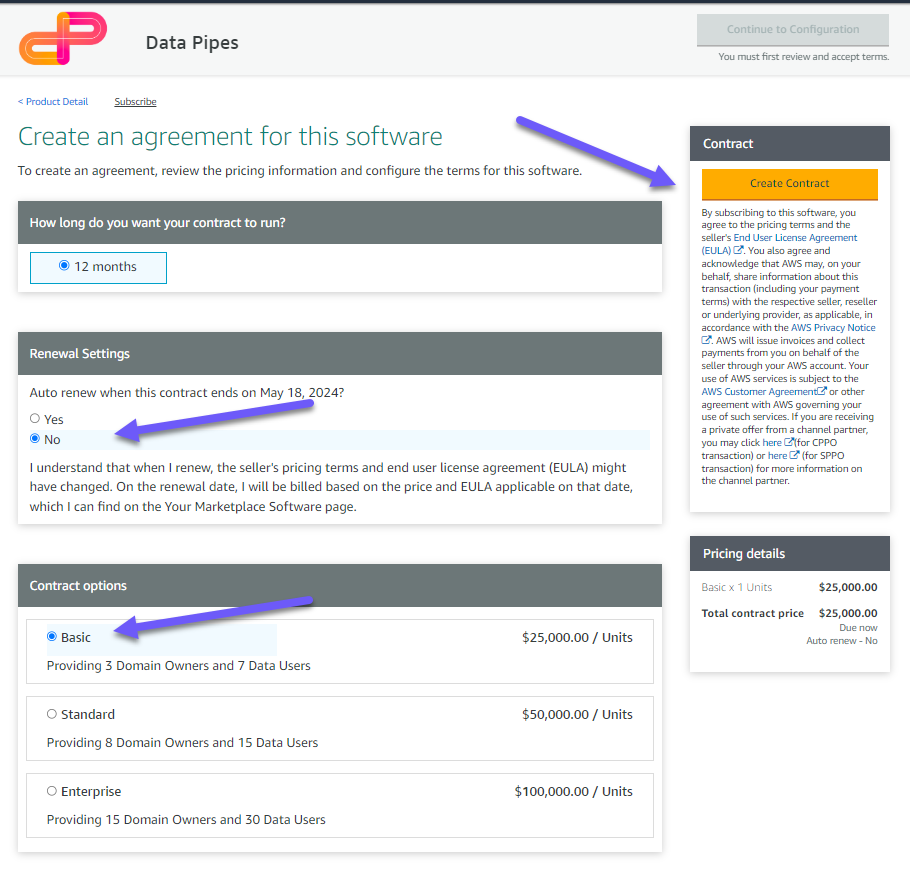
2. Select the Renewal Settings and the Contract Option then click on Create Contract.
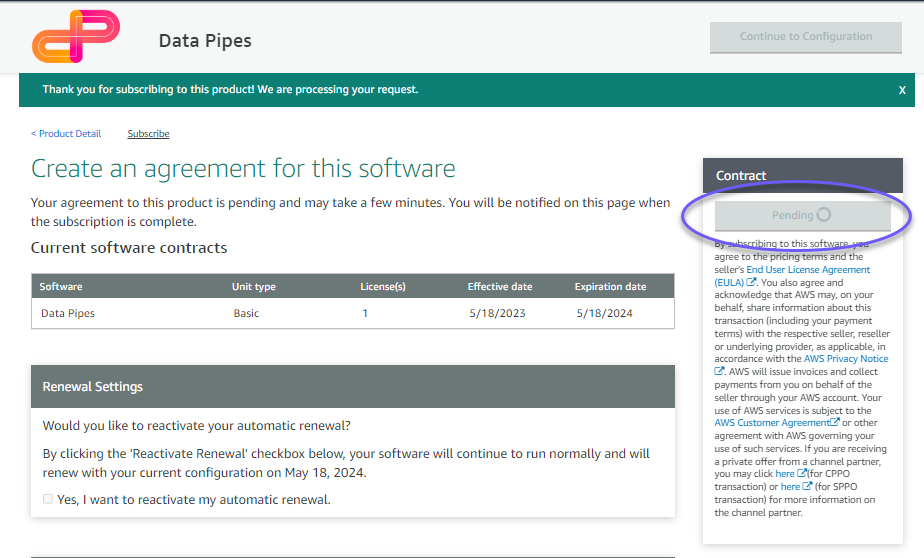
3. The Contract creation is now Pending.
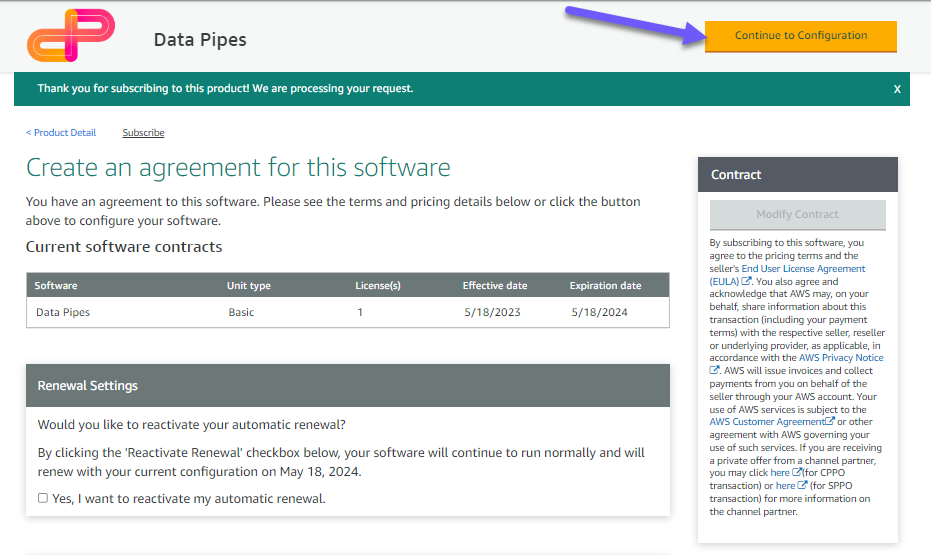
4. Wait until the subscription is active and click on Continue to Configuration.
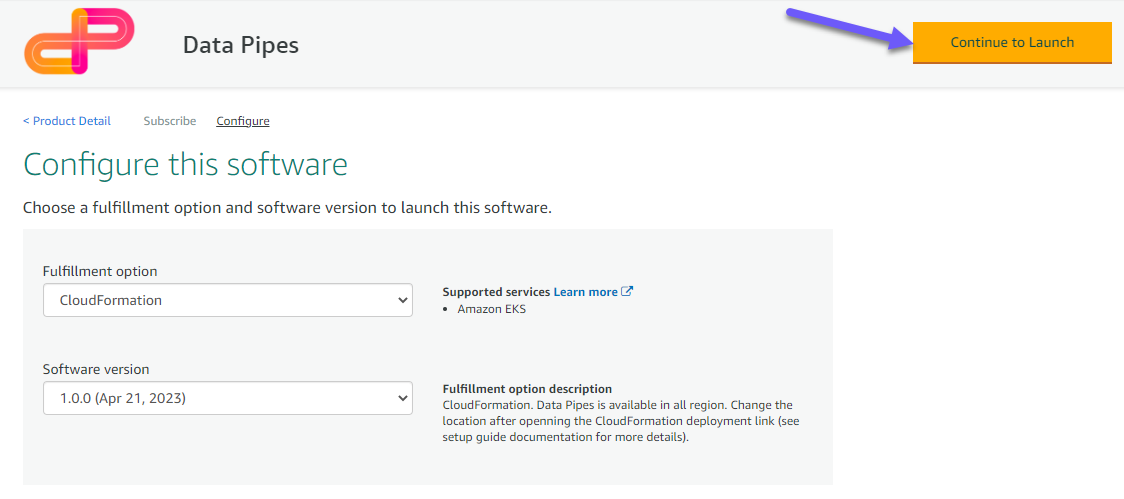
5. We provide one Delivery Methods using CloudFormation, Select the latest software version available:

6. Click on Continue to Launch.
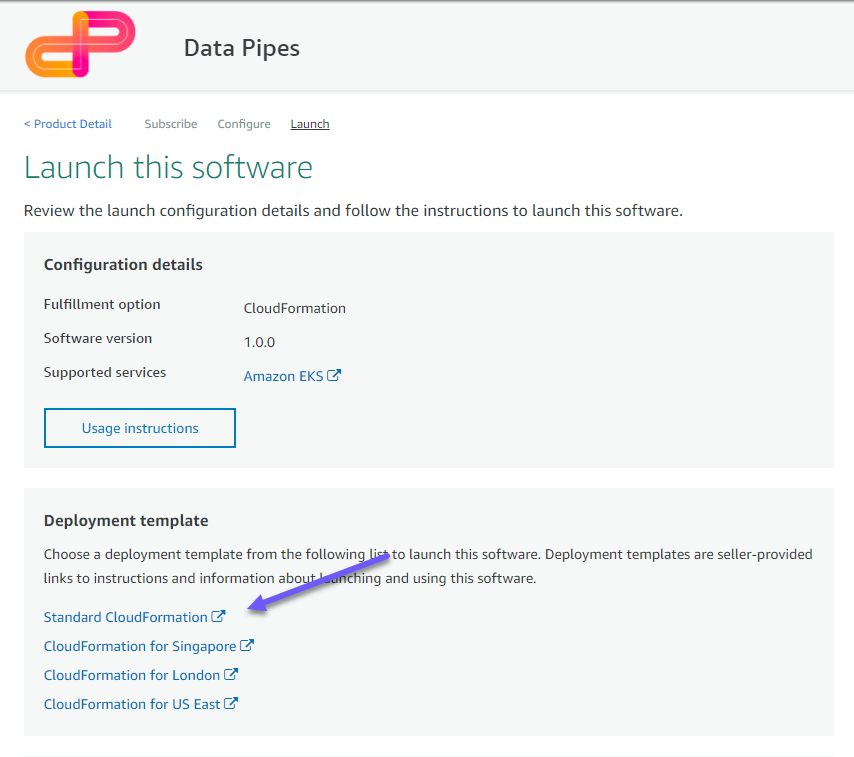
7. Choose the Deployment template Standard CloudFormation and click on the link.
Data Pipes support any region, choose a pre-define URL region or use the standard and change the region once loaded in the CloudFormation interface.
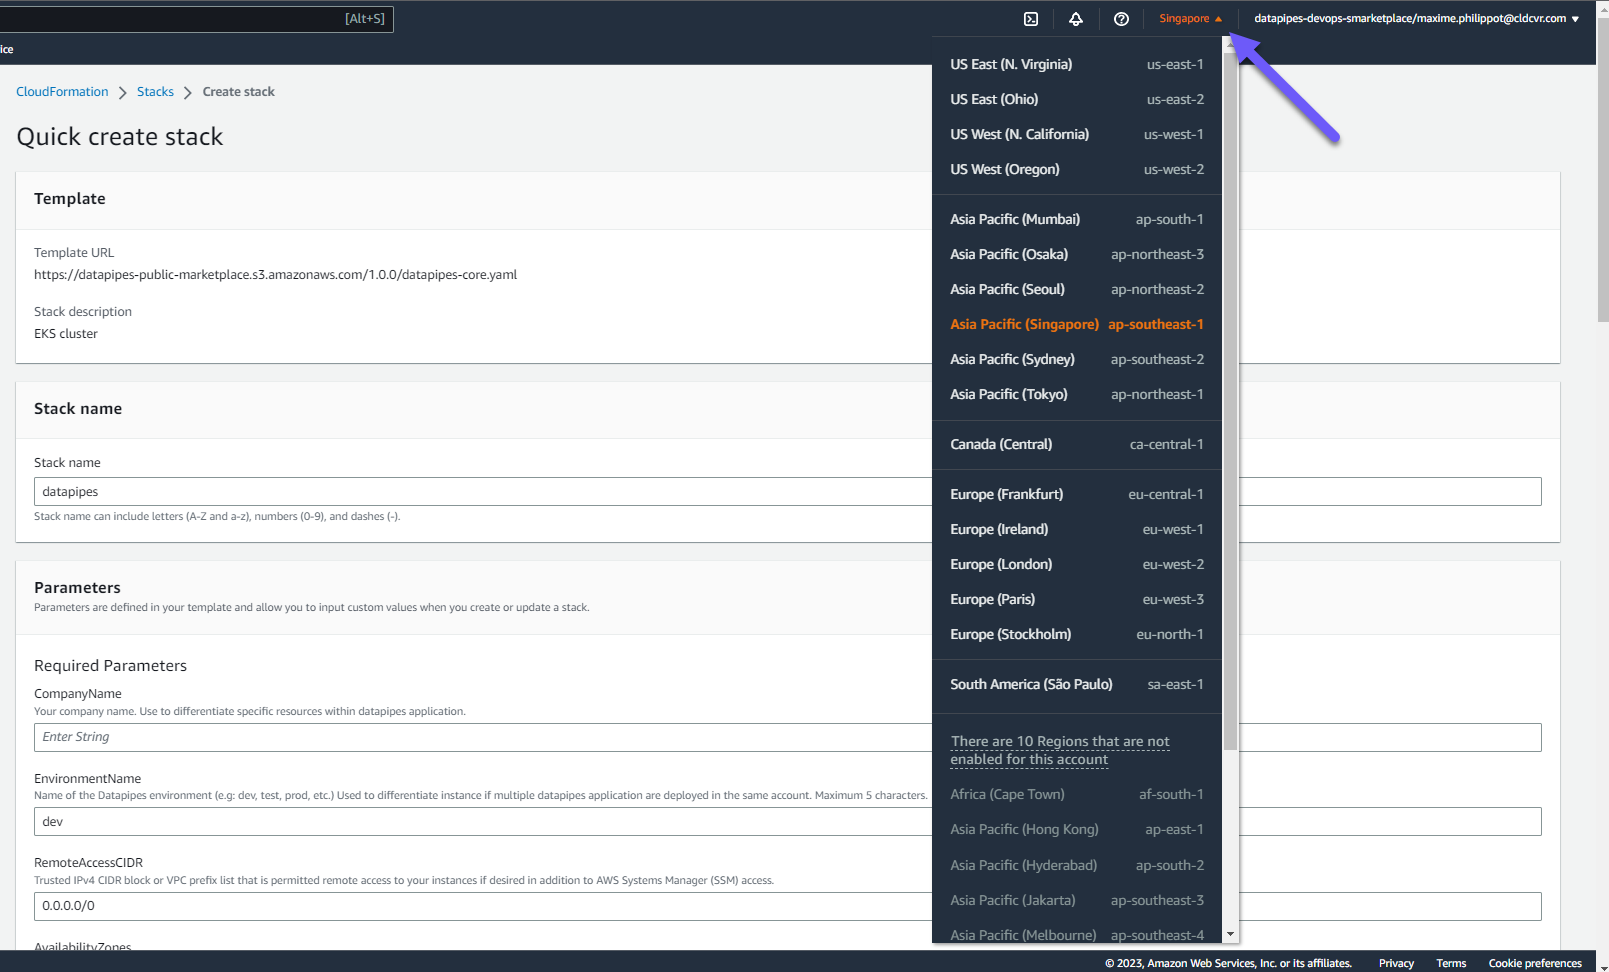
8. You are redirected to CloudFormation
By default deployment is set in the region based on the link selected, if you want to deploy in any other regions, simply select the wanted region in the top dropdown list in your AWS interface.
Install Data Pipes
Data Pipes is fully managed and configured via CloudFormation.
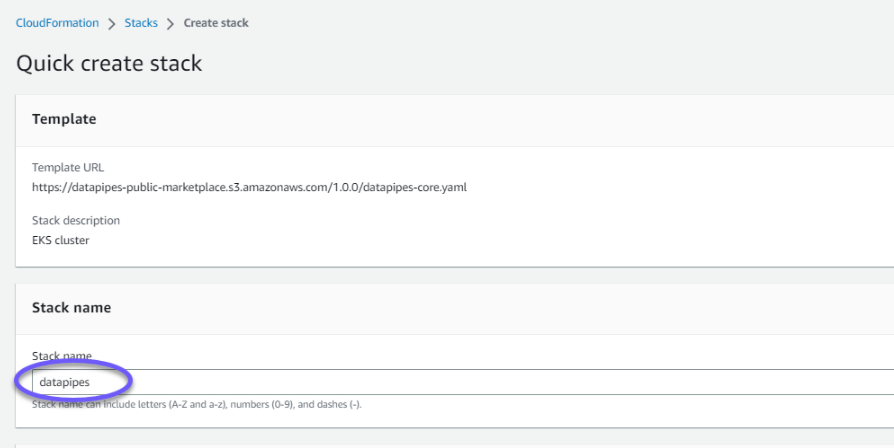
1. Set a Stack name (e.g., datapipes).
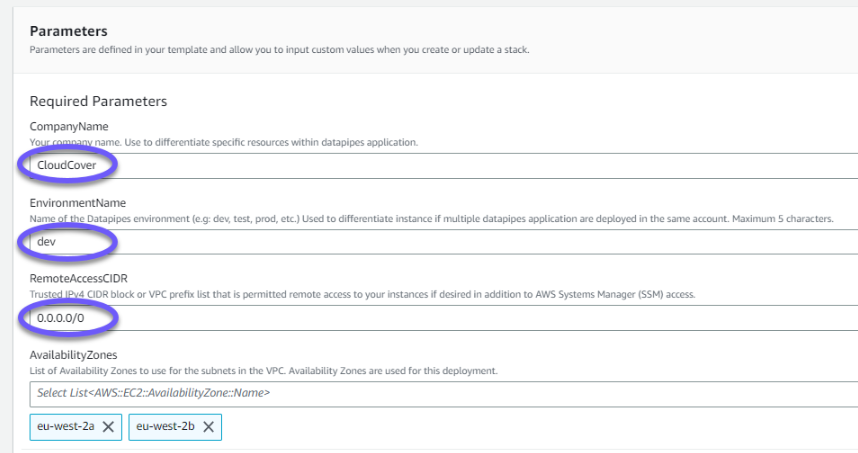
2. Under Required Parameters,
set the CompanyName, use to differentiate specific resources within datapipes application.
set the EnvironmentName, name of the Datapipes environment (e.g: dev, test, prod, etc.), used to differentiate instance if multiple datapipes application are deployed in the same account. Maximum 5 characters.
set the RemoteAccessCIDR, Trusted IPv4 CIDR block or VPC prefix list that is permitted remote.
set the AvailabilityZones, List of Availability Zones to use for the subnets in the VPC. Availability Zones are used for this deployment.
set the EmailAdress on which you want to receive the reset password link for your first connection.
Data Pipes does collect your email address. This information is not sent nor stored outside of your amazon account. This information is use by Data Pipes to send the first connection email details.
You can see the complete list of all deployment configuration parameters in our documentation.
3. Review the rest of the configuration parameters and go with the defaults (recommended).
You can see the complete list of all deployment configuration parameters in our documentation.
By default Data Pipes will use the CICDR range 10.0.0.0/20
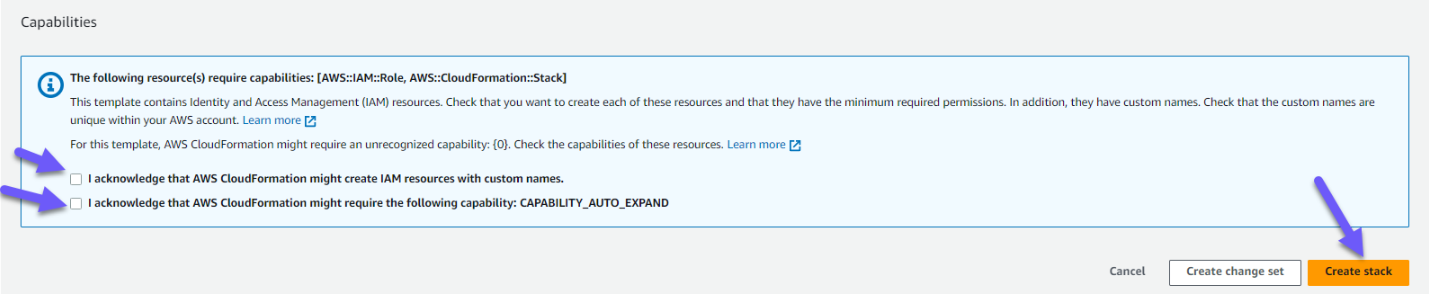
4. Scroll to the bottom of the page, enable I acknowledge that AWS CloudFormation might create IAM resources, enable I acknowledge that AWS CloudFormation might require the following capability: CAPABILITY_AUTO_EXPAND and click on Create.
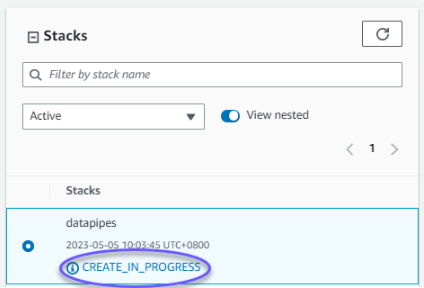
5. The stack status is CREATE_IN_PROGRESS. Reload the table from time to time and … The average stack deployment time is ~60 minutes.
6. … wait until the CloudFormation stack status switches to CREATE_COMPLETE.
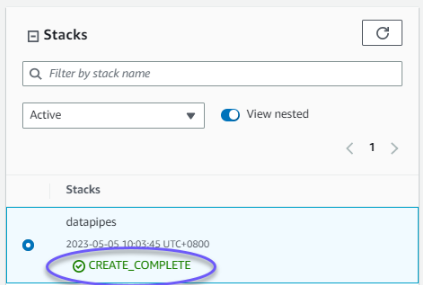
Data Pipes is now up and running.
First connection to Data Pipes
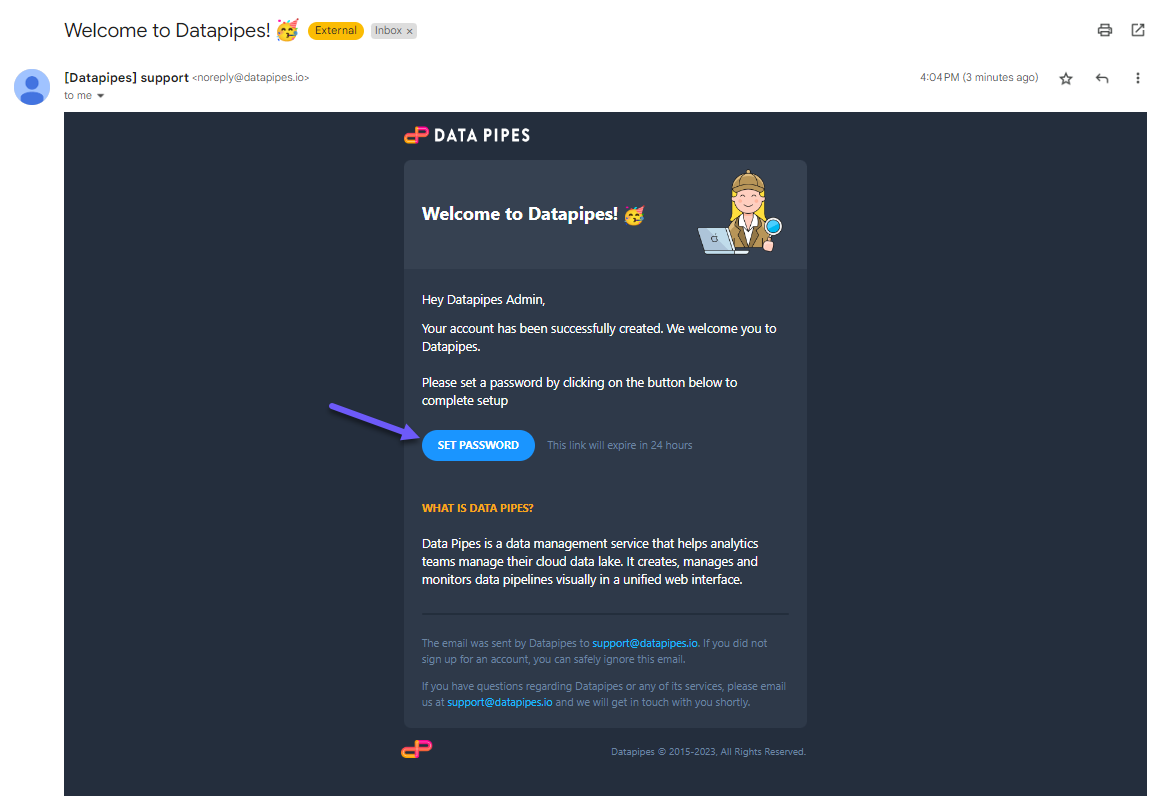
1. Check your mailbox. You will have receive a welcome and reset password email

2. Click on SET PASSWORD.
The reset link automatically expire 24 hours after generation.
3. Set your password and click on RESET PASSWORD.
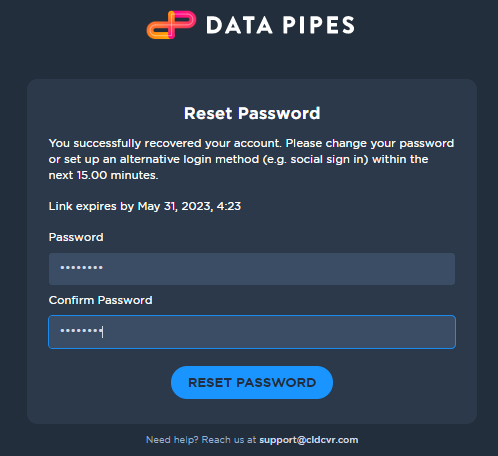
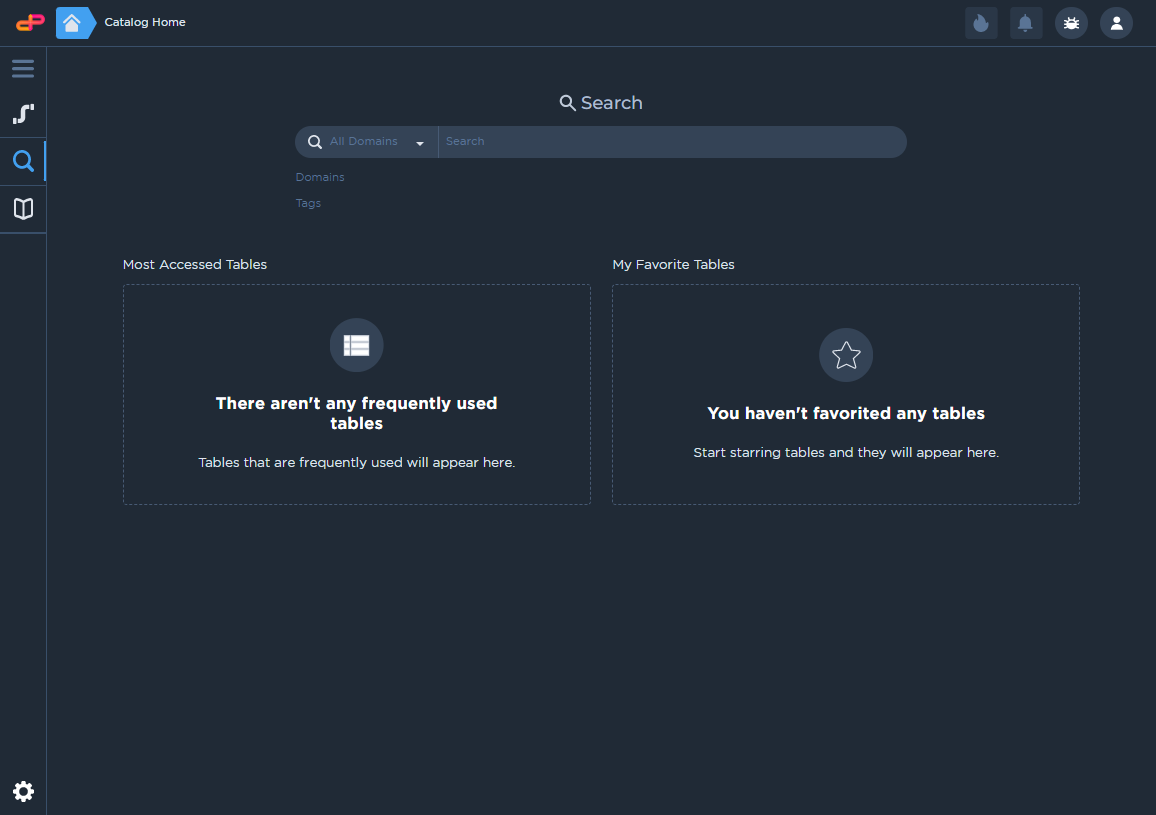
4. Wait for few second and you will be automatically redirect to Data Pipes home page.
Congratulations! You are now login in Data Pipes as an Admin user.
5. Visit our getting started and user guide to get rolling using Data Pipes.
Do you have any questions?
Check out the frequently asked questions, or send us an email.
Additional support
Need additional support, help with deployment and support, checkout our Professional service Enterprise Support available through AWS marketplace.